
Amazing Red Velvet Cheesecake Brownies in 8 Steps Recipe
Introduction
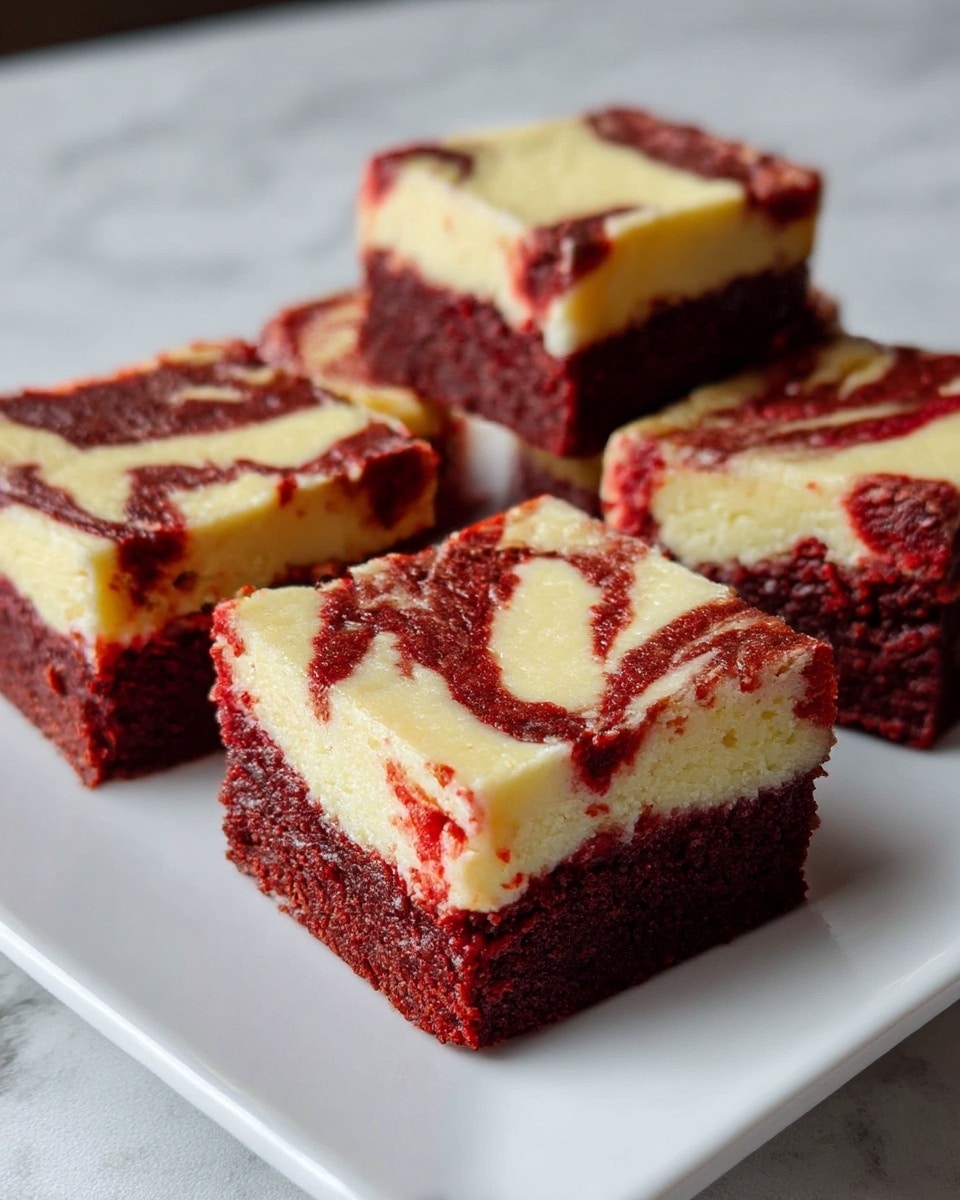
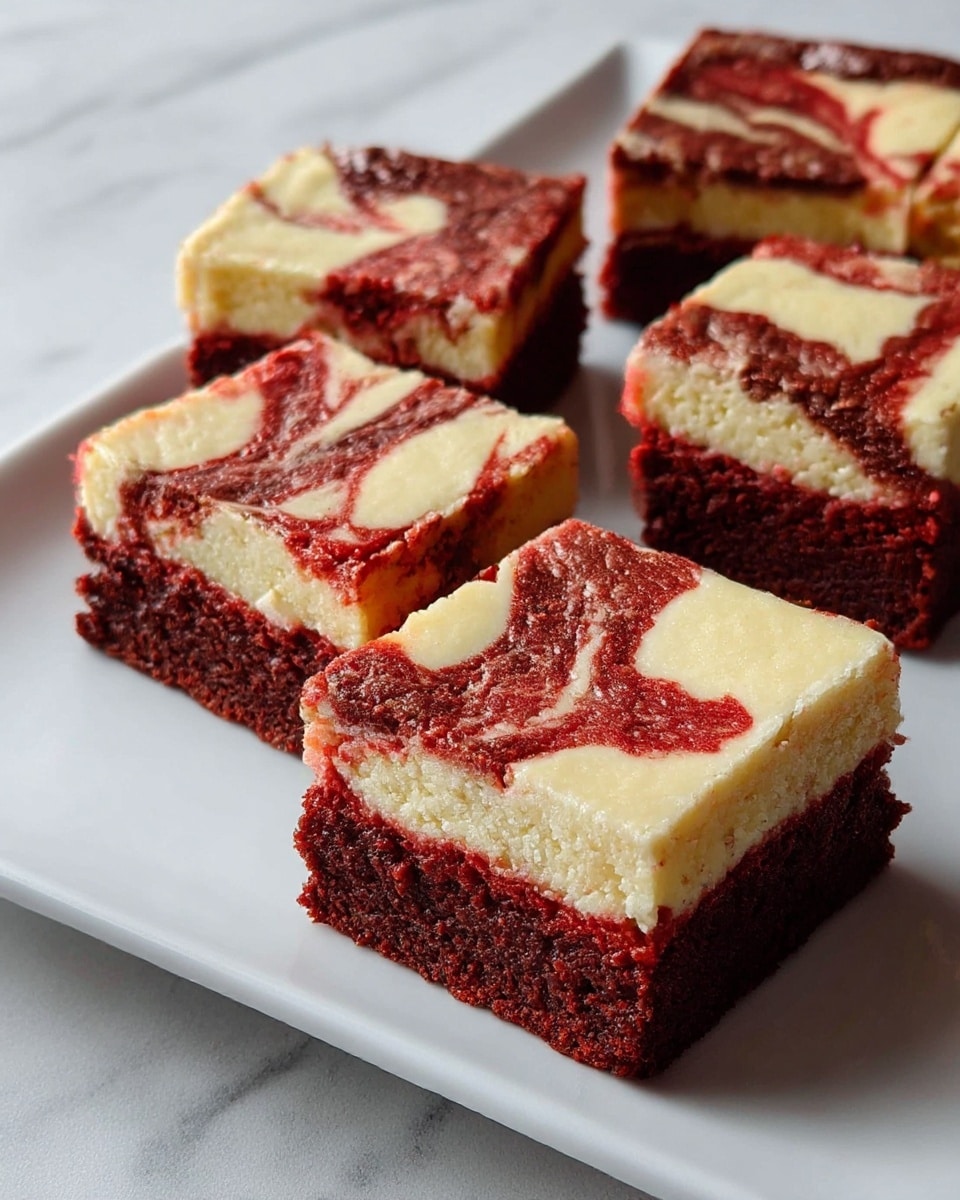
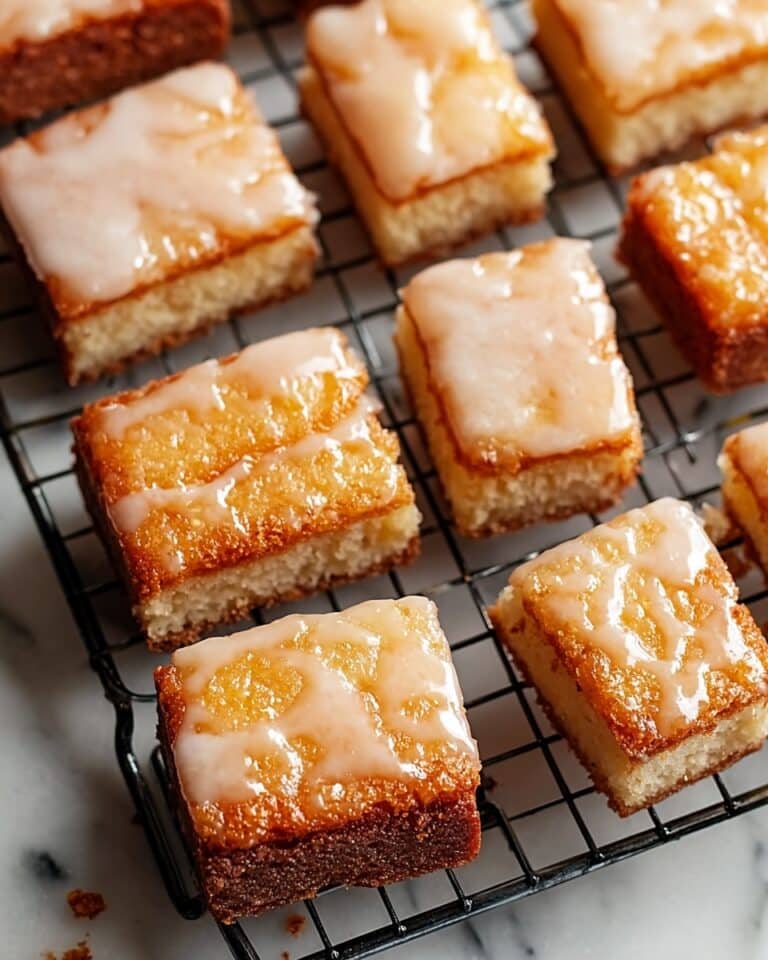
These amazing red velvet cheesecake brownies combine the rich, chocolatey flavor of brownies with a creamy, tangy cheesecake swirl. Perfect for dessert lovers looking to impress with a stunning and delicious treat.
Ingredients
- 1 cup (2 sticks) unsalted butter, melted
- 1 3/4 cups granulated sugar
- 3/4 cup unsweetened cocoa powder
- 1 teaspoon salt
- 1 teaspoon vanilla extract
- 4 large eggs
- 1 cup all-purpose flour
- 1 teaspoon red food coloring (gel preferred)
- 8 ounces cream cheese, softened
- 1/2 cup granulated sugar (for cheesecake layer)
- 1 large egg (for cheesecake layer)
- 1/2 teaspoon vanilla extract (for cheesecake layer)
Instructions
- Step 1: Preheat your oven to 350°F (175°C). Line a 9×13 inch baking pan with parchment paper, leaving an overhang on the sides for easy removal, and lightly grease the paper.
- Step 2: In a large bowl, whisk together the melted butter, 1 3/4 cups sugar, cocoa powder, and salt until combined. Stir in 1 teaspoon vanilla extract.
- Step 3: Beat in the 4 eggs one at a time until fully incorporated.
- Step 4: Mix in the red food coloring until the batter is uniformly red. Gently fold in the flour until just combined; avoid overmixing.
- Step 5: Spread the red velvet batter evenly into the prepared pan.
- Step 6: In a separate bowl, beat the softened cream cheese with 1/2 cup sugar until smooth. Mix in the remaining egg and 1/2 teaspoon vanilla extract until creamy.
- Step 7: Dollop spoonfuls of the cheesecake mixture evenly over the red velvet batter. Use a butter knife to gently swirl the two batters in an S-shape or figure-eight pattern without over-swiping.
- Step 8: Bake for 30 to 35 minutes until edges look set and a toothpick inserted near the center comes out with moist crumbs. Cool completely on a wire rack, then lift from the pan using the parchment overhang and cut into squares.
Tips & Variations
- Use gel food coloring for the deepest red without adding extra liquid to the batter.
- Chill the cooled brownies in the refrigerator for at least one hour before slicing for cleaner cuts.
- Serve slightly chilled for a firmer texture and enhanced flavor.
Storage
Store the brownies in an airtight container in the refrigerator for up to 5 days. Reheat briefly in the microwave if desired, or enjoy them chilled for the best texture and flavor.
How to Serve
Serve this delicious recipe with your favorite sides.
FAQs
Can I use regular liquid food coloring instead of gel?
You can, but gel food coloring is preferred because it provides a more vibrant red color without thinning the batter.
How do I know when the brownies are done?
The edges should look set and a toothpick inserted near the center will come out with moist crumbs attached but not wet batter. This ensures a fudgy texture with a creamy cheesecake layer.
Print
Amazing Red Velvet Cheesecake Brownies in 8 Steps Recipe
- Total Time: 2 hours 55 minutes
- Yield: 12 to 16 squares 1x
Description
Delight in the rich and decadent flavor of these amazing red velvet cheesecake brownies. Combining the deep cocoa taste of classic brownies with a creamy, tangy cheesecake swirl, this dessert offers a beautiful red velvet color and a moist, fudgy texture that’s perfect for any occasion.
Ingredients
Brownie Batter
- 1 cup (2 sticks) unsalted butter, melted
- 1 3/4 cups granulated sugar
- 3/4 cup unsweetened cocoa powder
- 1 teaspoon salt
- 1 teaspoon vanilla extract
- 4 large eggs
- 1 cup all-purpose flour
- 1 teaspoon red food coloring (gel preferred)
Cheesecake Layer
- 8 ounces cream cheese, softened
- 1/2 cup granulated sugar
- 1 large egg
- 1/2 teaspoon vanilla extract
Instructions
- Preheat and Prepare Pan: Preheat your oven to 350°F (175°C). Line a 9×13 inch baking pan with parchment paper, leaving an overhang on the sides for easy removal. Lightly grease the parchment paper.
- Make Brownie Batter: In a large bowl, whisk together the melted butter, 1 3/4 cups sugar, cocoa powder, and salt until combined. Add 1 teaspoon vanilla extract and whisk. Beat in the 4 eggs one at a time, ensuring each is fully incorporated before adding the next.
- Color and Add Flour: Stir in the red food coloring until the batter turns a uniform red. Gently fold in the flour until just mixed, being careful not to overmix. Spread the batter evenly into the prepared baking pan.
- Prepare Cheesecake Mixture: In a separate bowl, beat the softened cream cheese with 1/2 cup sugar until smooth and creamy. Add the remaining egg and 1/2 teaspoon vanilla extract, mixing until fully combined.
- Add Cheesecake to Brownie Batter: Drop spoonfuls of the cheesecake mixture evenly over the red velvet brownie batter in the pan.
- Create Swirl Pattern: Use a butter knife or thin offset spatula to gently drag through the batters in an S-shape or figure-eight pattern, creating swirls. Avoid over-swisting to prevent the colors from blending completely.
- Bake: Bake in the preheated oven for 30 to 35 minutes. The edges should look set, and a toothpick inserted near the center will come out with moist crumbs but not wet batter.
- Cool and Serve: Cool the brownies completely in the pan on a wire rack, about 2 hours. Use the parchment overhang to lift the brownies from the pan. For cleaner slicing, chill the cooled brownies in the refrigerator for at least 1 hour before cutting into squares and serving.
Notes
- Use gel food coloring for the deepest red color without adding excess liquid to the batter.
- For cleaner cuts, chill the cooled brownies in the refrigerator for at least one hour before slicing.
- These bars are excellent served slightly chilled for a firmer texture.
- Prep Time: 20 minutes
- Cook Time: 35 minutes
- Category: Dessert
- Method: Baking
- Cuisine: American
Keywords: red velvet brownies, cheesecake brownies, brownies recipe, dessert recipe, red velvet dessert, creamy cheesecake brownie bars


