
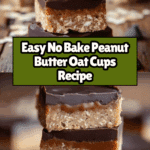
No Bake Peanut Butter Oat Cups Recipe
Introduction
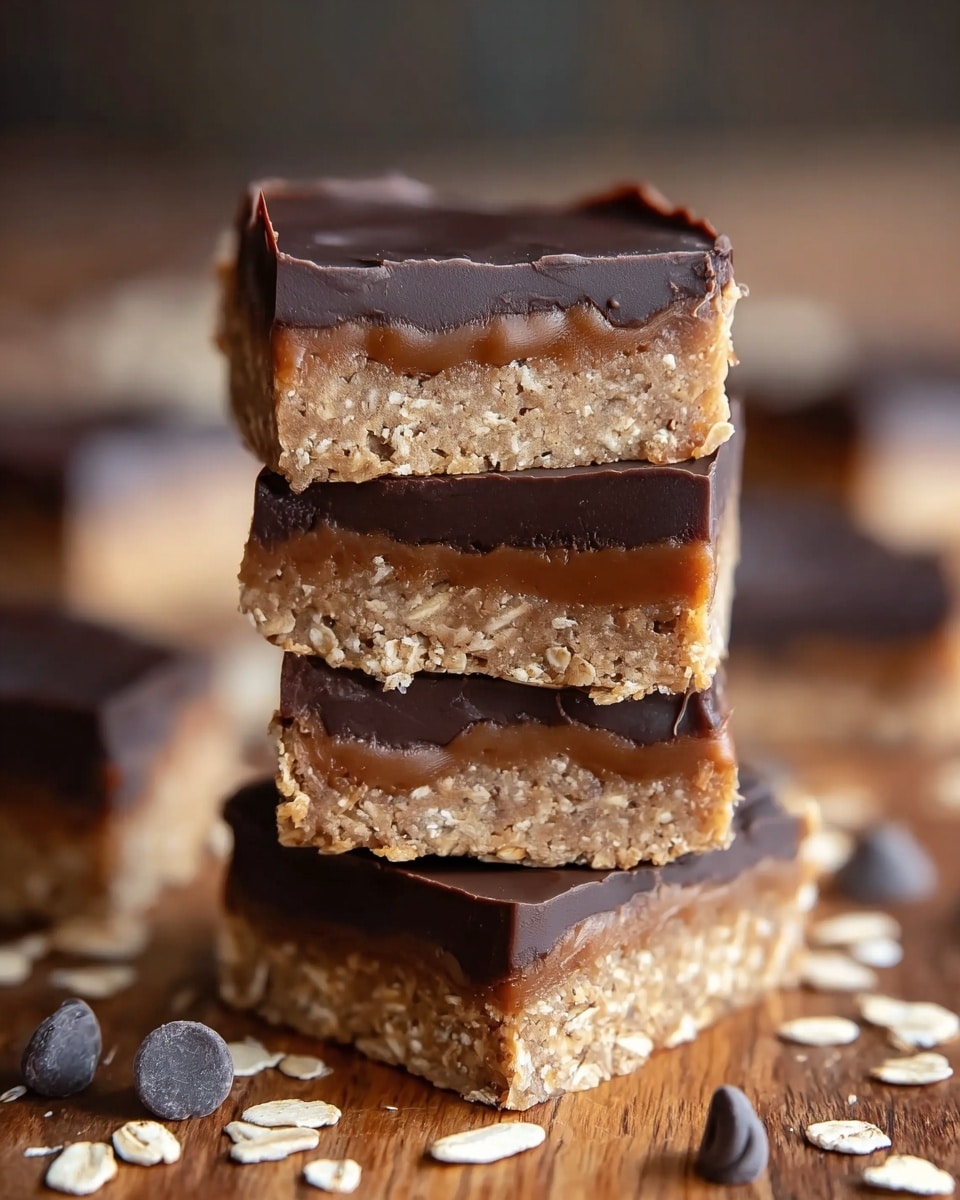
No Bake Peanut Butter Oat Cups are a delightful and easy treat that brings back nostalgic flavors with just a few wholesome ingredients. These bite-sized cups combine creamy peanut butter, hearty oats, and a smooth chocolate topping for a perfect no-fuss snack. Whether you need a quick energy boost or a sweet indulgence, these cups hit the spot every time.

Ingredients
- 1 cup creamy natural peanut butter
- ¼ cup maple syrup
- 1 cup oat flour (rolled oats blitzed into flour; gluten-free if using gluten-free oats)
- ½ cup chocolate chips (dark, milk, or semi-sweet)
- 1 teaspoon coconut oil (optional, for glossy chocolate layer)
Instructions
- Step 1: Combine the peanut butter and maple syrup in a microwave-safe bowl. Heat for 40 to 60 seconds until warm and runny, then stir until smooth and unified.
- Step 2: Gradually add the oat flour to the peanut butter mixture, stirring constantly. Mix until the texture is thick and moldable. If too dry, add a little more maple syrup or peanut butter until it holds together well. Optionally, stir in ¼ to ⅓ cup pumpkin puree for added moisture and flavor.
- Step 3: Line a standard or mini muffin pan with paper or silicone liners to ensure easy removal later.
- Step 4: Scoop the peanut butter oat mixture evenly into the muffin cups. Press firmly with your fingers to create compact, even bases.
- Step 5: In a small bowl, combine the chocolate chips and coconut oil (if using). Microwave in 30-second intervals, stirring between each, until the chocolate is smooth and glossy. Spoon a layer of melted chocolate over each oat cup and smooth the tops with a spoon.
- Step 6: Refrigerate the filled muffin pan for 2 to 3 hours until the cups are firm. Remove gently from the pans and enjoy or store for later.
Tips & Variations
- Use gluten-free oats to make this recipe suitable for gluten-sensitive diets.
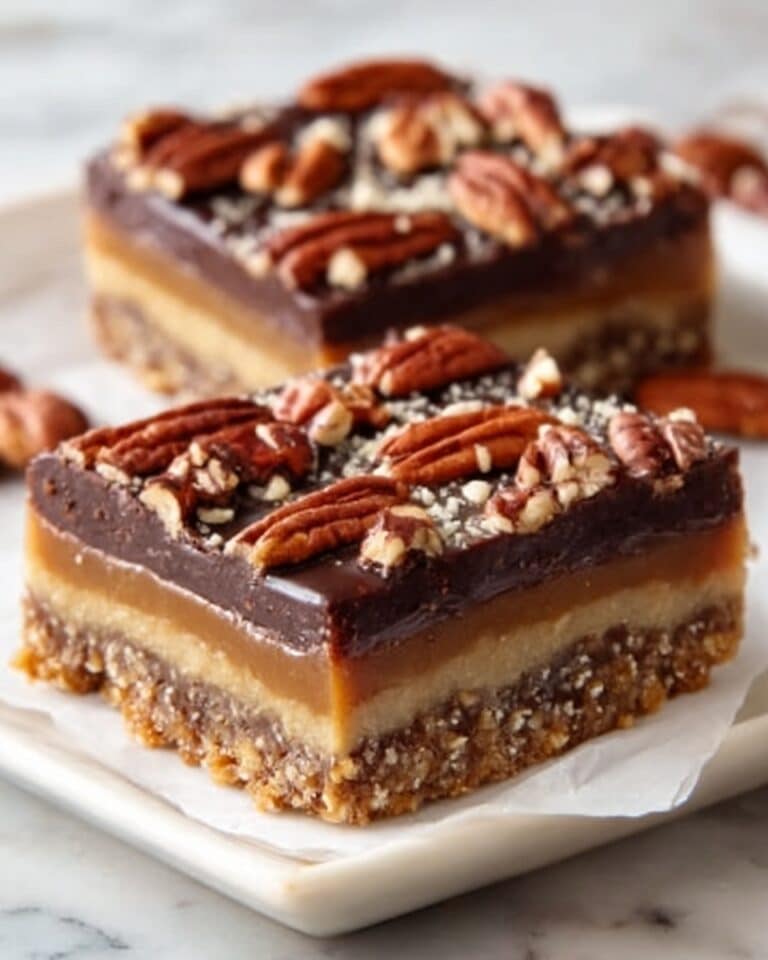
- For a twist, add a handful of chopped nuts or a sprinkle of sea salt on top of the chocolate layer before chilling.
- Substitute pumpkin puree with mashed banana or applesauce for different flavors and moisture.
- If you prefer a dairy-free option, choose dairy-free chocolate chips.
Storage
Store these peanut butter oat cups in an airtight container in the refrigerator for up to one week. For longer storage, freeze them in a single layer on a baking sheet, then transfer to a sealed bag or container; thaw in the fridge before enjoying. When ready to eat, let them sit at room temperature for a few minutes to soften slightly.
How to Serve
Serve this delicious recipe with your favorite sides.
FAQs
Can I use crunchy peanut butter instead of creamy?
Yes, you can use crunchy peanut butter for added texture, though the mixture may be slightly less smooth. It will give the cups a pleasant crunch.
Do I need to bake these cups?
No baking is required. These cups set firmly by chilling in the refrigerator, making them a quick and easy no-bake treat.
Print
No Bake Peanut Butter Oat Cups Recipe
- Total Time: 3 hours 10 minutes (including chilling time)
- Yield: 12 cups (standard muffin size) 1x
- Diet: Gluten Free
Description
These No Bake Peanut Butter Oat Cups are a simple, delicious treat that combines creamy peanut butter, wholesome oat flour, and a touch of maple syrup, topped with a luscious layer of melted chocolate. Perfectly chewy and sweet, they evoke nostalgic flavors with minimal ingredients and effort, making them an ideal snack or dessert that requires no baking.
Ingredients
Main Ingredients
- 1 cup creamy natural peanut butter
- 1/3 cup maple syrup
- 1 1/4 cups oat flour (made from rolled oats)
- 3/4 cup chocolate chips (dark, milk, or semi-sweet)
- 1 tablespoon coconut oil (optional)
Instructions
- Melt the Peanut Butter and Maple Syrup: Combine the peanut butter and maple syrup in a microwave-safe bowl. Heat in the microwave for 40 to 60 seconds until warm and oozy. Stir well to create a uniform, smooth mixture ready to bind the oats.
- Mix in the Oat Flour: Gradually add the oat flour to the peanut butter mixture, stirring continuously. The mixture will thicken and become dense but moldable. If it seems dry or crumbly, add an extra teaspoon of maple syrup or peanut butter as needed. Optionally, stir in 1/4 to 1/3 cup pumpkin puree for added moisture and flavor.
- Prep Your Muffin Pan: Line a standard or mini muffin pan with paper or silicone liners to ensure easy removal of the oat cups later.
- Fill and Press: Scoop the thick oat mixture into the prepared muffin cups, dividing it evenly. Press down firmly with your fingers to compact the mixture, creating a solid base for the chocolate topping.
- Melt and Pour the Chocolate: In a small bowl, combine chocolate chips and coconut oil (if using). Microwave in 30-second intervals, stirring between each, until smooth and glossy. Spoon the melted chocolate over each oat cup, smoothing the surface with the back of a spoon for an even layer.
- Chill Until Set: Refrigerate the pan for 2 to 3 hours until the oat cups are firm and the chocolate has solidified. Once set, remove the cups gently from the liners and enjoy immediately or store for later snacking.
Notes
- Use gluten-free oats if you want these cups to be gluten-free.
- Coconut oil is optional but helps create a glossy, silky chocolate layer.
- Adding pumpkin puree is optional and adds moisture plus a subtle autumn flavor.
- Press mixture firmly into molds for easier removal and better texture.
- Store finished cups in an airtight container in the refrigerator for up to one week.
- Prep Time: 10 minutes
- Cook Time: 0 minutes
- Category: Dessert, Snack
- Method: No-Cook
- Cuisine: American
Keywords: no bake, peanut butter, oat cups, gluten free, healthy snack, chocolate topped, easy dessert, natural sweetener
