
No-Bake Biscoff Cheesecake Cups Recipe
Introduction
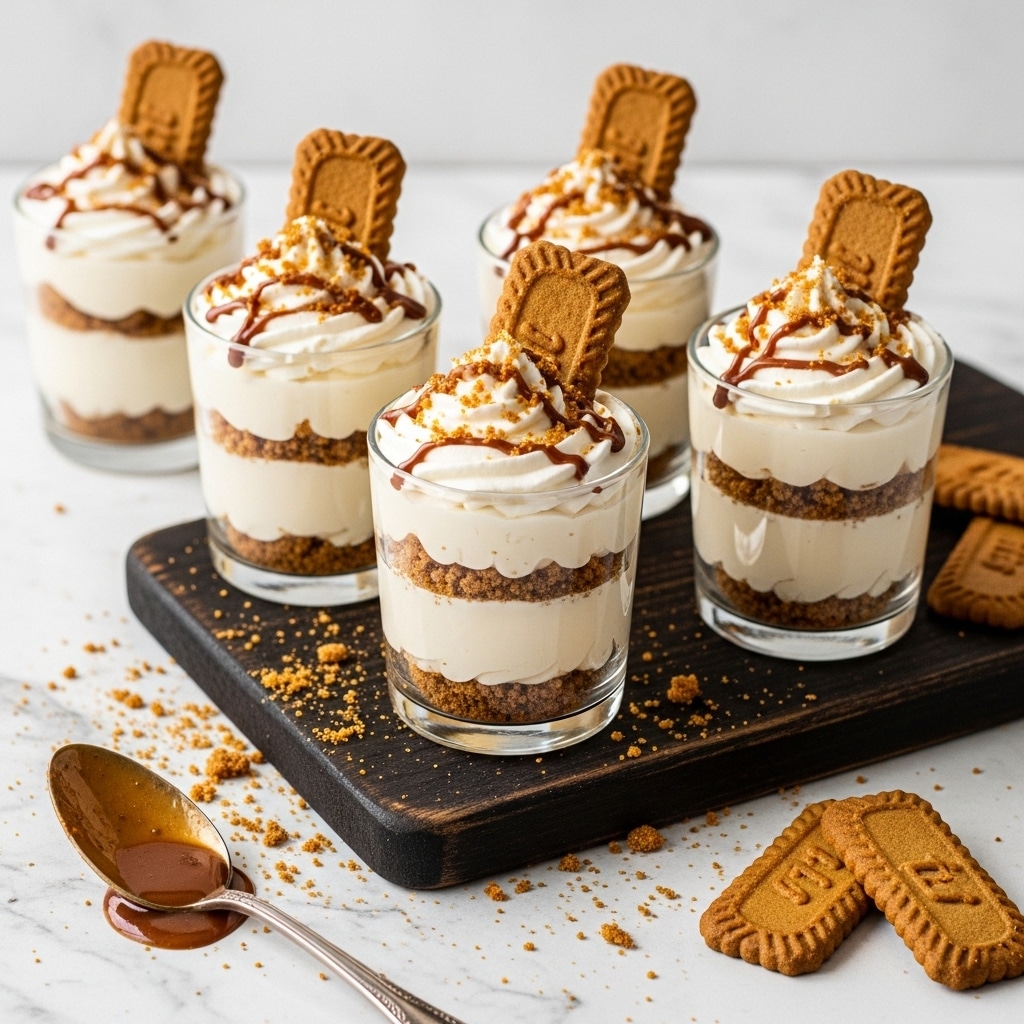
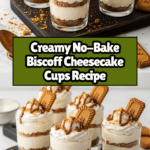
No-Bake Biscoff Cheesecake Cups are a delightful treat that combines the rich, creamy texture of cheesecake with the warm, spiced flavor of Lotus Biscoff biscuits. Easy to assemble and requiring no oven time, these cups are perfect for a quick dessert that feels indulgent and special.
Ingredients
- About 30 Lotus Biscoff biscuits
- 2 tablespoons unsalted butter, melted
- 16 oz (2 cups) heavy cream
- 8 oz cream cheese, at room temperature
- ½ cup powdered sugar
- ½ cup Biscoff (cookie butter) spread, plus extra for topping
- 1 teaspoon vanilla extract
- Garnish: halved Biscoff cookies and reserved cookie crumbs
Instructions
- Step 1: Crush the Biscoff biscuits into fine crumbs using a food processor or rolling pin. Mix the crumbs with melted butter, reserving a few tablespoons of the crumb mixture for decoration.
- Step 2: Press 2 to 3 tablespoons of the crust mixture into the bottom of each dessert cup or glass. Set the cups aside while preparing the filling.
- Step 3: Whip the heavy cream in a bowl until stiff peaks form. Set aside.
- Step 4: In another bowl, beat together the cream cheese, powdered sugar, Biscoff spread, and vanilla extract until smooth and creamy.
- Step 5: Gently fold the whipped cream into the cream cheese mixture until fully incorporated and light.
- Step 6: Transfer the cheesecake filling into a piping bag and pipe it evenly into each prepared cup over the pressed crust.
- Step 7: Melt about ½ cup of Biscoff spread in the microwave until pourable. Pour a layer of melted spread over the cheesecake filling in each cup.
- Step 8: Top each cup with halved Biscoff cookies and sprinkle reserved cookie crumbs for garnish.
- Step 9: Refrigerate the cups for at least 4 hours or overnight to allow the cheesecake to set. Serve chilled.
Tips & Variations
- For a crunchier base, try adding chopped nuts like pecans or walnuts to the crumb mixture.
- If you prefer a lighter dessert, substitute half the heavy cream with Greek yogurt folded into the filling.
- Use mini cups or jars to make perfect party-sized portions.
- Drizzle caramel sauce or sprinkle sea salt on top for an extra flavor dimension.
Storage
Store the cheesecake cups covered in the refrigerator for up to 3 days. Keep them chilled until ready to serve for the best texture and flavor. If desired, let the cups sit at room temperature for 5 to 10 minutes before serving to soften slightly. These no-bake treats are not suitable for freezing.
How to Serve
Serve this delicious recipe with your favorite sides.
FAQs
Can I make these cheesecake cups ahead of time?
Yes, these cups actually improve with time and should be refrigerated for at least 4 hours or overnight to allow the filling to set properly.
Can I substitute the cream cheese or Biscoff spread?
You can use mascarpone instead of cream cheese for a richer texture, and peanut butter or another nut butter in place of Biscoff spread, but keep in mind this will change the classic flavor profile.
Print
No-Bake Biscoff Cheesecake Cups Recipe
- Total Time: 4 hours 20 minutes
- Yield: Makes about 8 regular or 20–24 mini cheesecake cups 1x
Description
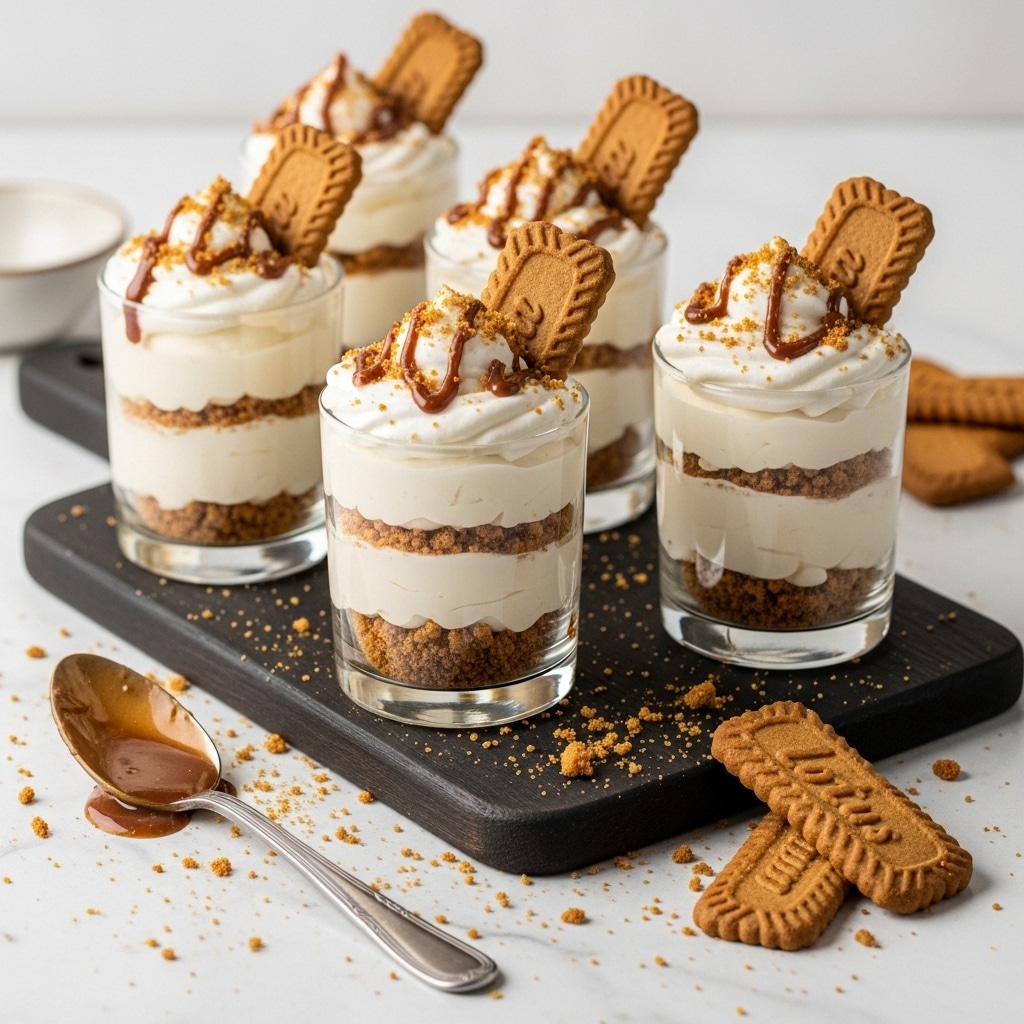
Indulge in these luscious No-Bake Biscoff Cheesecake Cups, combining the rich, spiced caramel flavor of Lotus Biscoff biscuits with creamy cheesecake filling. This effortless dessert requires no oven and features a buttery Biscoff crust, smooth cream cheese and cookie butter mixture, topped with a layer of melted Biscoff spread, halved cookies, and reserved biscuit crumbs for extra texture and presentation. Perfect for make-ahead entertaining or a special treat.
Ingredients
Crust
- About 30 Lotus Biscoff biscuits
- 2 tablespoons unsalted butter, melted
Filling
- 16 oz (2 cups) heavy cream
- 8 oz cream cheese, at room temperature
- ½ cup powdered sugar
- ½ cup Biscoff (cookie butter) spread, plus extra for topping
- 1 teaspoon vanilla extract
Garnish
- Halved Biscoff cookies
- Reserved biscuit crumbs
Instructions
- Prepare the crust: Crush the Lotus Biscoff biscuits into fine crumbs using a food processor or rolling pin. Combine the crumbs with melted unsalted butter, reserving a few tablespoons of the crumb mixture for decoration.
- Form crust bases: Press about 2 to 3 tablespoons of the crust mixture firmly into the bottom of each dessert cup or glass. Set the crusts aside.
- Whip the cream: In a clean bowl, whip the heavy cream until stiff peaks form, ensuring it holds shape but remains smooth.
- Prepare cheesecake filling: In another bowl, beat together the cream cheese, powdered sugar, Biscoff spread, and vanilla extract until completely smooth and creamy. Gently fold the whipped cream into this mixture until fully incorporated and silky.
- Assemble the cups: Transfer the cheesecake filling into a piping bag and pipe it evenly into the prepared cups over the crust bases.
- Add Biscoff topping: Melt about half a cup of Biscoff spread in the microwave until pourable. Carefully spoon or drizzle a layer of melted Biscoff spread over the cheesecake filling in each cup.
- Garnish: Top each cup with halved Biscoff cookies and sprinkle reserved cookie crumbs on top for added crunch and visual appeal.
- Chill and set: Refrigerate the assembled cups for at least 4 hours, or preferably overnight, to allow the cheesecake to set fully and flavors to meld.
- Serve: Serve the Biscoff cheesecake cups chilled directly from the refrigerator for best texture and taste.
Notes
- Use room temperature cream cheese for a smoother filling without lumps.
- The crust mixture can be adjusted for thickness depending on cup size. Press firmly to hold the base.
- Store leftovers covered in the refrigerator for up to 3 days.
- For mini cups, reduce crust and filling amounts accordingly to fit smaller vessels.
- Biscoff spread layers add extra richness but can be omitted if preferred.
- Prep Time: 20 minutes
- Cook Time: 0 minutes
- Category: Dessert
- Method: No-Cook
- Cuisine: Belgian-inspired
Keywords: Biscoff cheesecake, no bake dessert, cookie butter cheesecake, Lotus biscuits dessert, easy cheesecake cups, no oven cheesecake, creamy cheesecake cups, Biscoff cookie dessert