
Classic Red Velvet Brownies with Cheesecake Layer Recipe
Introduction
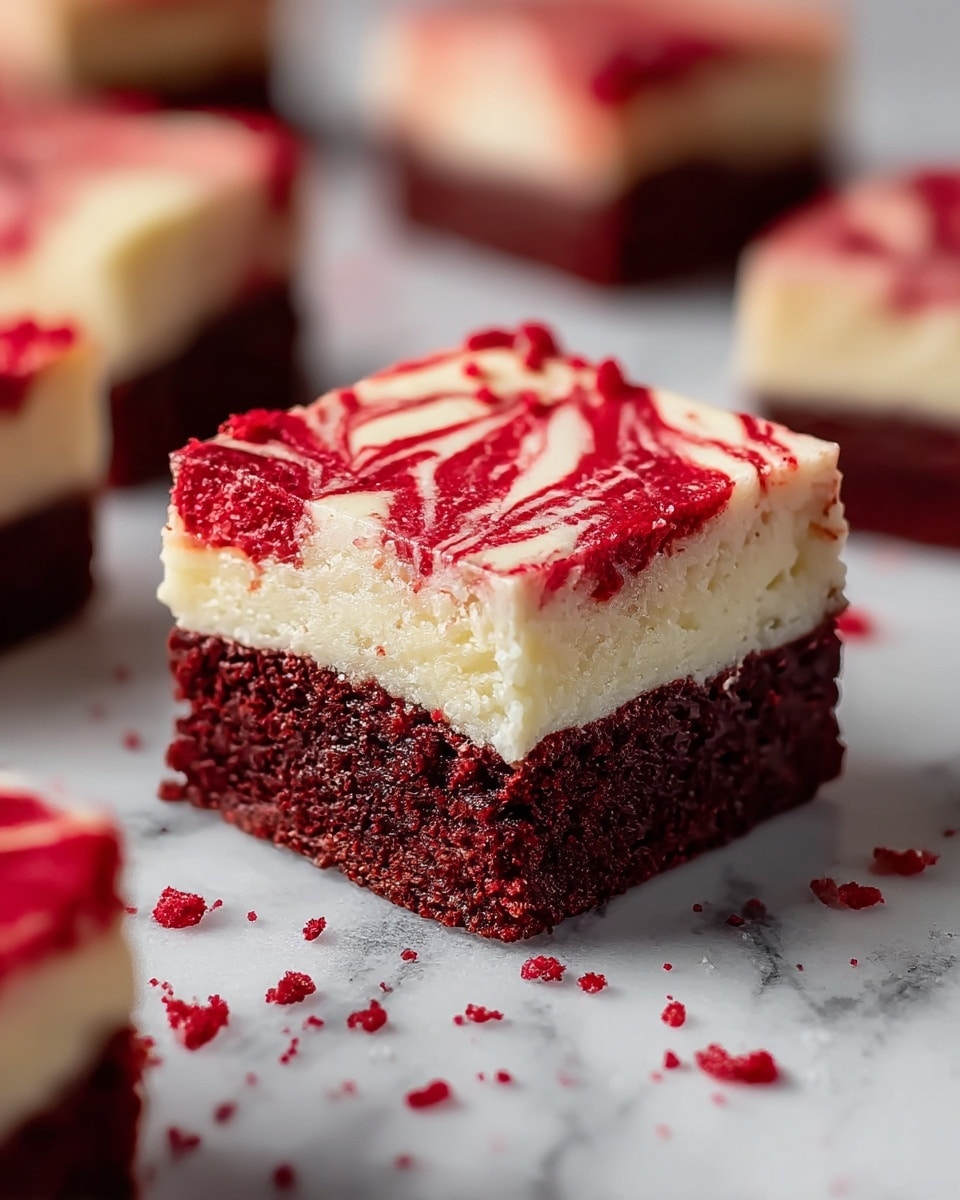
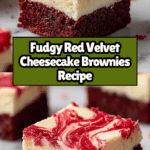
Classic Red Velvet Brownies with a luscious cheesecake layer combine rich, fudgy texture with creamy sweetness. This visually stunning dessert is perfect for special occasions or an indulgent treat any day.
Ingredients
- 5 oz butter (preferably Kerrygold unsalted)
- 3/4 cup sugar
- 1 1/2 tsp vanilla extract
- 1/3 cup cocoa powder (Hershey’s Special Dark recommended)
- 1/8 tsp salt
- 1 1/2 tbsp red food coloring
- 1 tsp vinegar
- 2 large eggs (room temperature, about 70°F)
- 3/4 cup flour
- 8 oz cream cheese (Philadelphia original blocks), softened
- 1/4 cup sugar (for cheesecake layer)
- 1 large egg (for cheesecake layer)
- 1/2 tsp vanilla extract (for cheesecake layer)
Instructions
- Step 1: Preheat your oven to 375°F. Grease an 8×8 inch baking dish or 9-inch square pan evenly on the bottom and sides to prevent sticking.
- Step 2: Melt the butter in a medium saucepan over low heat. Remove from heat and stir in 3/4 cup sugar until combined. Add 1 1/2 tsp vanilla, cocoa powder, salt, red food coloring, and vinegar, mixing until smooth and deep burgundy in color.
- Step 3: Lightly beat the room-temperature eggs in a small bowl, then add to the chocolate mixture. Stir until smooth. Gently fold in the flour with a spatula until just combined. Reserve 1/4 cup of this batter for the top layer.
- Step 4: Pour the remaining red velvet brownie batter into the prepared baking dish, spreading it evenly into the corners to form the base layer.
- Step 5: In a separate bowl, beat the softened cream cheese with 1/4 cup sugar until smooth and fluffy. Add the egg and 1/2 tsp vanilla, mixing until creamy and lump-free. Spread this cheesecake mixture evenly over the brownie base layer.
- Step 6: Spoon the reserved 1/4 cup red velvet batter in small dollops over the cheesecake layer. Using a thin knife or skewer, gently swirl to create a marbled effect, being careful not to overmix.
- Step 7: Bake for 30-35 minutes until the top is set but slightly jiggly in the center. The edges should start pulling away from the pan. Remove from the oven and cool on a wire rack for 1-2 hours.
- Step 8: Refrigerate for at least 1 hour before cutting to allow layers to set and cheesecake to firm for clean slices.
Tips & Variations
- Use room-temperature eggs to help achieve a smooth batter and better rise.
- For a deeper cheesecake flavor, add a teaspoon of lemon zest to the cream cheese mixture.
- Try using natural food coloring alternatives like beet juice for a healthier option.
- Swirl the top layer gently to keep the distinct red velvet and cheesecake patterns.
Storage
Store the brownies covered in the refrigerator for up to 4 days to keep the cheesecake layer fresh. Reheat briefly at room temperature or enjoy chilled. For longer storage, freeze in an airtight container for up to 2 months and thaw overnight in the fridge before serving.
How to Serve
Serve this delicious recipe with your favorite sides.
FAQs
Can I use regular cream cheese instead of block cream cheese?
Yes, but block cream cheese generally has a firmer texture and less moisture, which helps create a better cheesecake layer in brownies.
Why does the cheesecake layer sometimes crack?
Overbaking or sudden temperature changes can cause cracks. Bake until just set with a slight jiggle and cool gradually to reduce cracking.
Print
Classic Red Velvet Brownies with Cheesecake Layer Recipe
- Total Time: 1 hour 50 minutes
- Yield: 9 squares 1x
Description
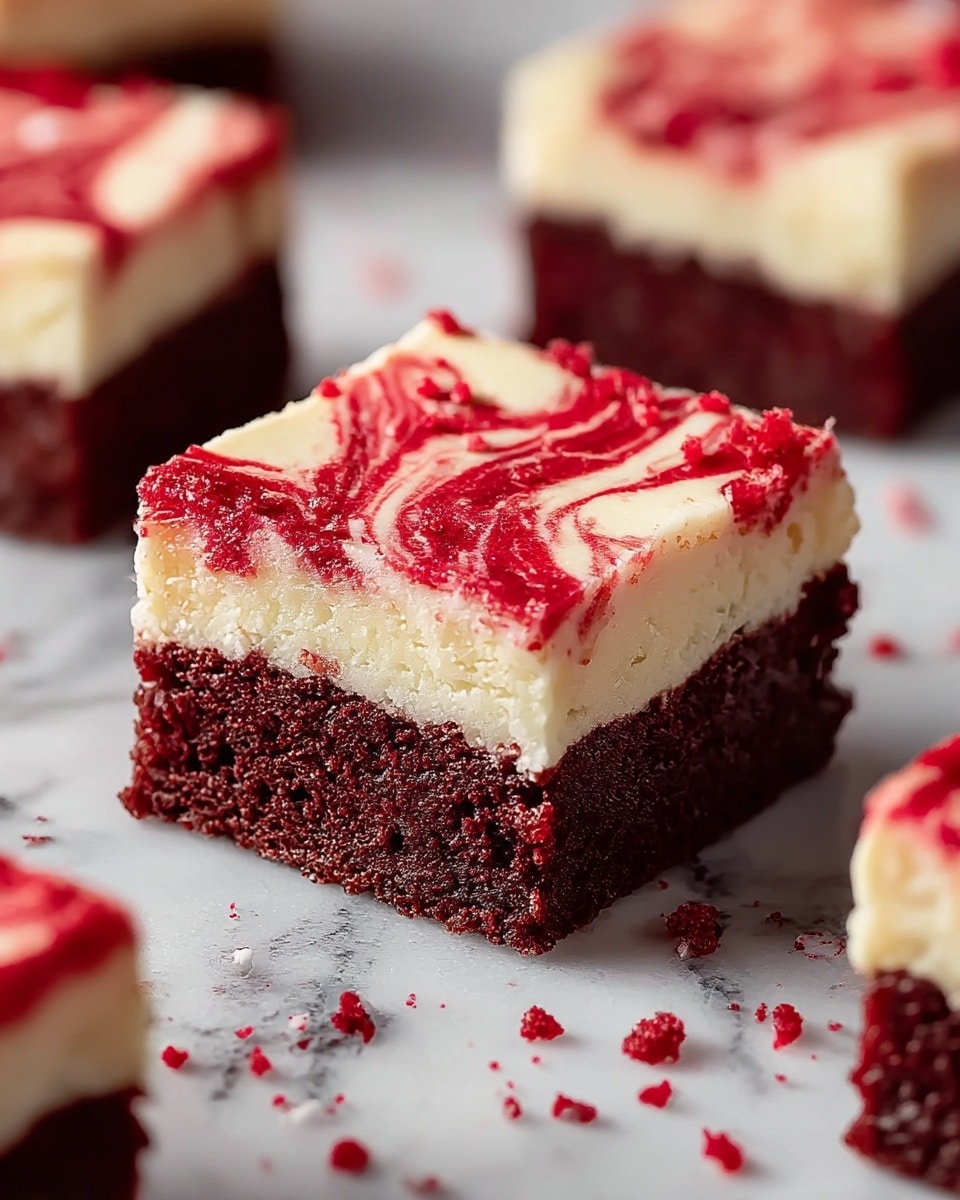
This Classic Red Velvet Brownies with Cheesecake Layer is a rich and decadent dessert featuring a fudgy red velvet base combined with a creamy cheesecake topping. The brownies are infused with deep cocoa and bright red food coloring for that signature red velvet look, while the swirled cheesecake adds a luscious texture contrast. Perfect for special occasions or an indulgent treat, these brownies bake in a single dish and deliver a beautiful marbled effect that’s as eye-catching as it is delicious.
Ingredients
Brownie Layer
- 5 oz unsalted butter (preferably Kerrygold)
- 3/4 cup sugar
- 1 1/2 tsp vanilla extract
- 1/3 cup cocoa powder (Hershey’s Special Dark recommended)
- 1/8 tsp salt
- 1 1/2 tbsp red food coloring
- 1 tsp vinegar
- 2 large eggs, room temperature (about 70°F)
- 3/4 cup all-purpose flour
Cheesecake Layer
- 8 oz Philadelphia cream cheese, softened
- 1/4 cup sugar
- 1 large egg
- 1/2 tsp vanilla extract
Instructions
- Preheat and Prepare Pan: Preheat your oven to 375°F. Grease an 8×8 inch baking dish or a 9-inch square pan generously with butter or cooking spray to ensure easy removal of the brownies after baking.
- Make Brownie Batter: Melt the butter in a medium saucepan over low heat. Once melted, remove it from heat and stir in 3/4 cup sugar until well combined. Add vanilla extract, cocoa powder, salt, red food coloring, and vinegar, stirring until the mixture achieves a deep burgundy hue. Beat the room-temperature eggs lightly in a separate bowl, then incorporate them into the mixture, stirring until smooth. Gently fold in the flour with a spatula until just combined, avoiding overmixing. Reserve 1/4 cup of this batter in a small bowl for the topping.
- Layer Brownie Batter: Pour about 3/4 of the red velvet brownie batter into the prepared baking dish, spreading it evenly to the edges to form the solid base layer.
- Prepare Cheesecake Layer: In a separate bowl, beat the softened cream cheese with 1/4 cup sugar until smooth and fluffy, approximately 1-2 minutes. Add the egg and vanilla extract, beating until the mixture is completely combined with no lumps.
- Spread Cheesecake Layer: Carefully spread the cheesecake mixture evenly over the brownie base layer, taking care not to disturb the layer beneath.
- Top with Reserved Batter and Swirl: Spoon dollops of the reserved 1/4 cup brownie batter across the top of the cheesecake layer. Use a thin knife or skewer to gently swirl the batter through the cheesecake in a figure-8 or back-and-forth motion to create a beautiful marbled pattern without overmixing.
- Bake the Brownies: Place the baking dish in the preheated oven and bake for 30-35 minutes. The top should be set but with a slight jiggle in the center when shaken gently. The cheesecake will be mostly set, and the edges of the brownies should pull away slightly from the pan.
- Cool and Chill: Remove the brownies from the oven and allow them to cool to room temperature on a wire rack for 1-2 hours. For best results and cleaner slices, refrigerate the brownies for at least 1 hour to let the cheesecake layer firm up completely before cutting into squares.
Notes
- Use room temperature eggs to ensure a smooth batter and even cooking.
- Do not overmix the flour into the brownie batter to maintain a fudgy texture.
- For vibrant red color, use a high-quality red food coloring.
- Ensure cream cheese is properly softened to avoid lumps in the cheesecake layer.
- Swirling the batter too much can blend the layers and reduce the marbled effect.
- Chilling the brownies after cooling helps to achieve cleaner and neater slices.
- Kerrygold butter enhances flavor but any good quality unsalted butter can be used.
- Prep Time: 15 minutes
- Cook Time: 35 minutes
- Category: Dessert
- Method: Baking
- Cuisine: American
Keywords: red velvet brownies, cheesecake brownies, marbled brownies, dessert brownies, red velvet dessert
