
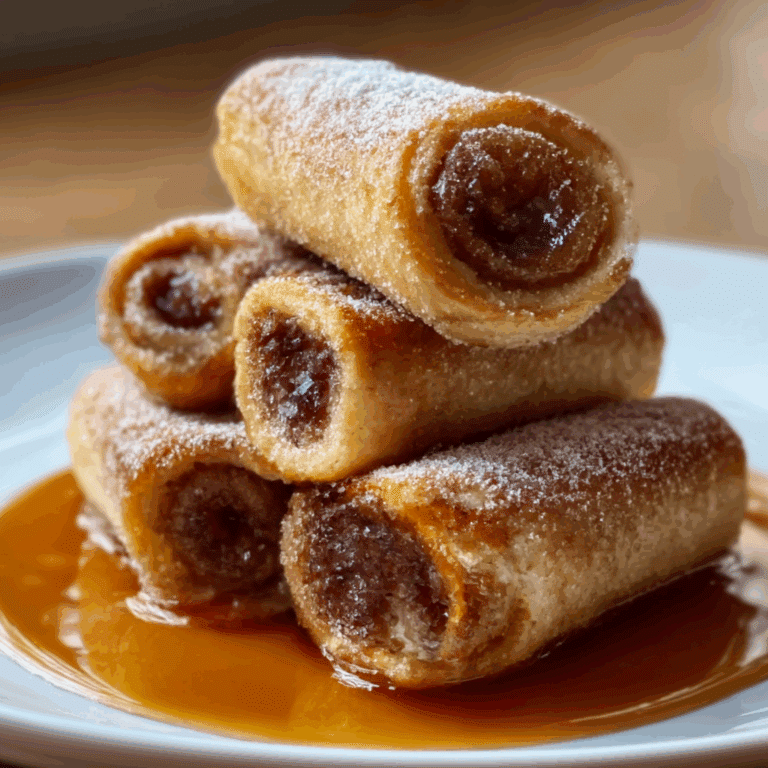
Red Velvet Cheesecake Brownies Recipe
Introduction
Red Velvet Cheesecake Brownies combine the rich, fudgy texture of brownies with a creamy, tangy cheesecake swirl. Their vibrant red color and marbled pattern make them as beautiful as they are delicious—a perfect treat for any occasion.
Ingredients
- For the Red Velvet Brownies:
- 1/2 cup unsalted butter, melted
- 1 cup granulated sugar
- 2 large eggs
- 1 teaspoon vanilla extract
- 1 tablespoon red food coloring
- 1 tablespoon cocoa powder
- 3/4 cup all-purpose flour
- 1/4 teaspoon salt
- For the Cheesecake Layer:
- 8 oz cream cheese, softened
- 1/4 cup granulated sugar
- 1 large egg
- 1/2 teaspoon vanilla extract
Instructions
- Step 1: Preheat your oven to 350°F (175°C). Grease an 8×8-inch baking pan or line it with parchment paper, leaving an overhang for easy removal.
- Step 2: In a large bowl, whisk the melted butter and sugar until smooth. Add the eggs, vanilla extract, and red food coloring, stirring until combined.
- Step 3: Sift in the cocoa powder, flour, and salt, then gently fold the dry ingredients into the wet until just combined. Avoid overmixing.
- Step 4: In a separate bowl, beat the cream cheese and sugar until creamy. Add the egg and vanilla extract, mixing until smooth and free of lumps.
- Step 5: Pour about 3/4 of the brownie batter into the prepared pan and spread evenly.
- Step 6: Carefully spread the cheesecake mixture over the brownie layer, covering as much surface as possible.
- Step 7: Drop spoonfuls of the reserved brownie batter on top of the cheesecake layer. Use a knife or toothpick to create gentle swirls for a marbled effect, being careful not to overmix.
- Step 8: Bake for 30-35 minutes, or until a toothpick inserted in the center comes out with a few moist crumbs but no wet batter.
- Step 9: Allow the brownies to cool completely in the pan on a wire rack. Chill in the refrigerator for at least 30 minutes before cutting for cleaner slices.
- Step 10: Slice into squares and enjoy as is, or serve with whipped cream or chocolate sauce.
Tips & Variations
- Use room temperature cream cheese for a smooth, lump-free cheesecake layer.
- Substitute red food coloring with natural options like beet powder for a gentler red hue.
- For extra indulgence, fold chocolate chips into the red velvet batter before baking.
- Add a fruit swirl by dropping raspberry or strawberry jam alongside the cheesecake layer before swirling.
- Sprinkle chopped nuts such as pecans or walnuts on top for a crunchy texture.
- Avoid overbaking to keep the brownies fudgy; a toothpick with a few moist crumbs indicates doneness.
Storage
Store the brownies in an airtight container at room temperature for up to 2 days. For longer freshness, refrigerate them for up to 1 week—this helps preserve the cheesecake layer. Brownies also freeze well for up to 3 months; wrap individual pieces tightly in plastic wrap, then place in a freezer-safe container. Thaw at room temperature or in the refrigerator before serving.
How to Serve
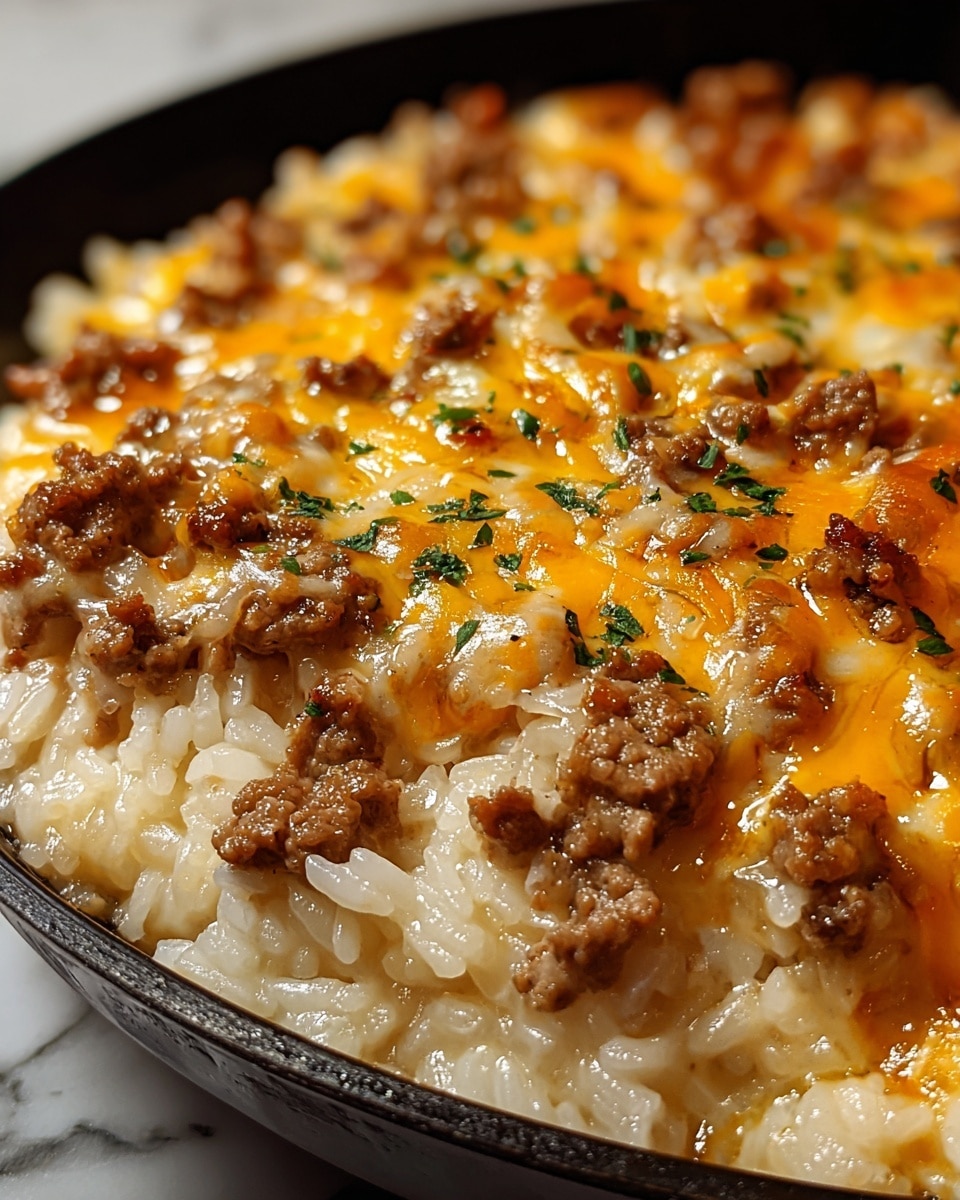
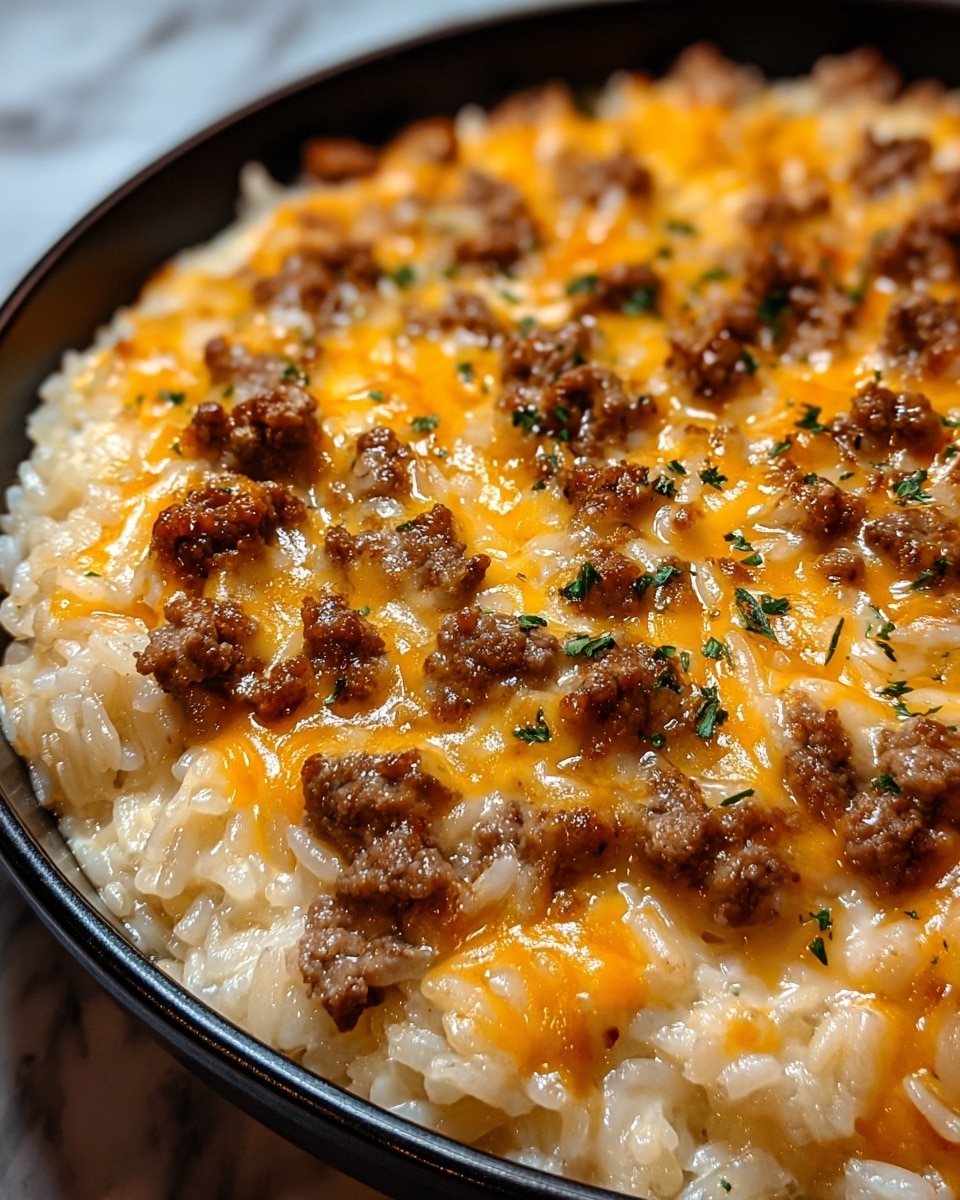
Serve this delicious recipe with your favorite sides.
FAQs
Can I make these gluten-free?
Yes, you can replace the all-purpose flour with a gluten-free baking blend that includes a binding agent like xanthan gum to maintain the brownies’ texture.
Can I double the recipe?
Absolutely. Double the ingredients and bake in a 9×13-inch pan. You may need to extend baking time by 5 to 10 minutes; watch for the toothpick test to ensure doneness.
Print
Red Velvet Cheesecake Brownies Recipe
- Total Time: 50 minutes
- Yield: 16 brownies (cut into 2-inch squares) 1x
- Diet: Vegetarian
Description
Deliciously rich Red Velvet Cheesecake Brownies combine a fudgy red velvet brownie base with a creamy, tangy cheesecake swirl. Perfectly marbled and baked to perfection, these brownies offer a beautiful presentation and a balance of sweet, chocolatey, and slightly tangy flavors, ideal for special occasions or any indulgent treat.
Ingredients
For the Red Velvet Brownies:
- 1/2 cup unsalted butter, melted
- 1 cup granulated sugar
- 2 large eggs
- 1 teaspoon vanilla extract
- 1 tablespoon red food coloring
- 1 tablespoon cocoa powder
- 3/4 cup all-purpose flour
- 1/4 teaspoon salt
For the Cheesecake Layer:
- 8 oz cream cheese, softened
- 1/4 cup granulated sugar
- 1 large egg
- 1/2 teaspoon vanilla extract
Instructions
- Preheat the Oven: Preheat your oven to 350°F (175°C) and line an 8×8-inch baking pan with parchment paper, leaving some overhang for easy removal after baking.
- Prepare the Red Velvet Brownie Batter: In a large mixing bowl, whisk together the melted butter and sugar until smooth. Add the eggs one at a time, vanilla extract, and red food coloring, stirring until well combined. Sift in the cocoa powder, flour, and salt, then gently fold the dry ingredients into the wet ingredients until just combined, careful not to overmix.
- Make the Cheesecake Layer: In a separate bowl, beat the softened cream cheese and sugar together until smooth and creamy. Add the egg and vanilla extract, beating until no lumps remain and the mixture is fully incorporated.
- Assemble the Brownies: Pour about three-quarters of the red velvet brownie batter into the prepared baking pan and spread it evenly. Carefully pour the cheesecake mixture over the brownie batter and gently spread to the edges. Drop spoonfuls of the reserved remaining red velvet batter on top of the cheesecake layer, then use a knife or toothpick to swirl gently creating a marbled effect without overmixing.
- Bake: Bake in the preheated oven for 30-35 minutes, or until the center is set and a toothpick inserted into the center comes out mostly clean with a few moist crumbs.
- Cool: Allow the brownies to cool completely in the pan on a wire rack. For cleaner cuts, chill the brownies in the refrigerator for at least 30 minutes before slicing.
- Serve: Slice into squares and enjoy them as is or topped with whipped cream or chocolate sauce for extra indulgence.
Notes
- Storage: Keep brownies stored in an airtight container in the refrigerator for up to 5 days. They can be frozen for up to 3 months; wrap slices tightly before freezing.
- Red Velvet Tip: You may reduce or omit the red food coloring if desired, but this will affect the classic red velvet color.
- Add-ins: For extra texture and flavor, fold in white chocolate chips or dark chocolate chunks into the red velvet batter before baking.
- Prep Time: 15 minutes
- Cook Time: 35 minutes
- Category: Dessert
- Method: Baking
- Cuisine: American
Keywords: Red Velvet Cheesecake Brownies, Fudgy Brownies, Cheesecake Swirl Brownies, Red Velvet Dessert, Cream Cheese Brownies
