
No-Bake Cream Cheese Peanut Butter Pie with Chocolate Whipped Cream Recipe
Introduction
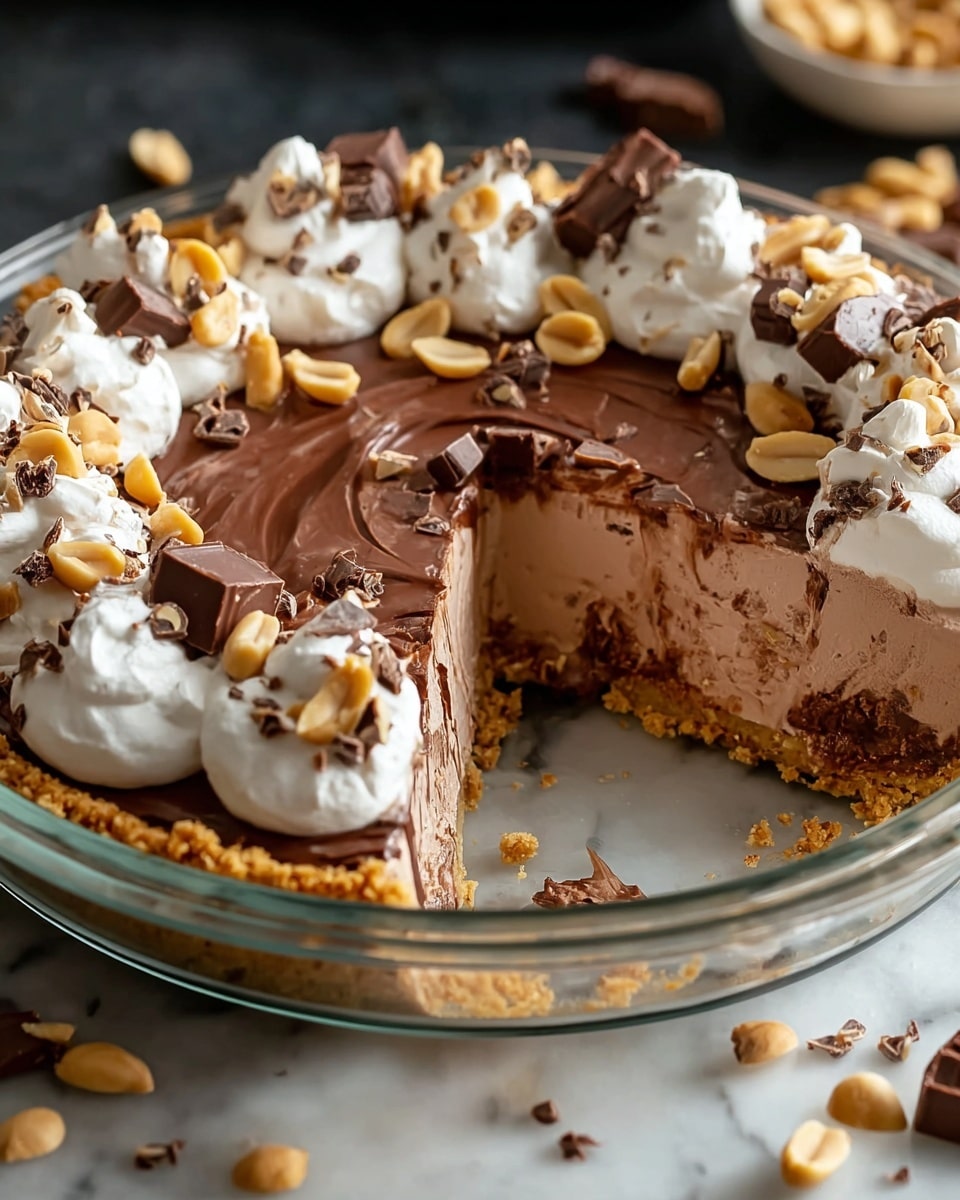
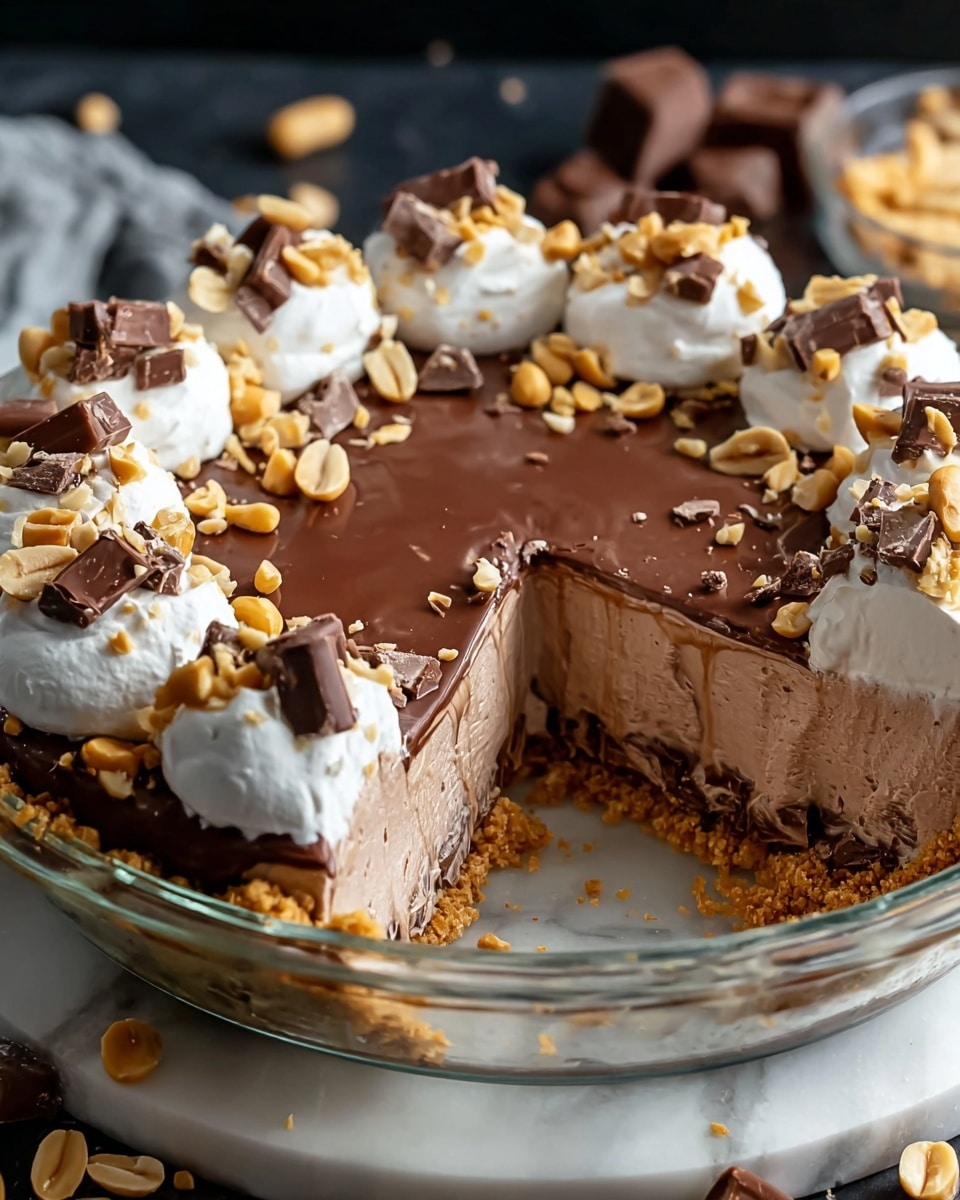
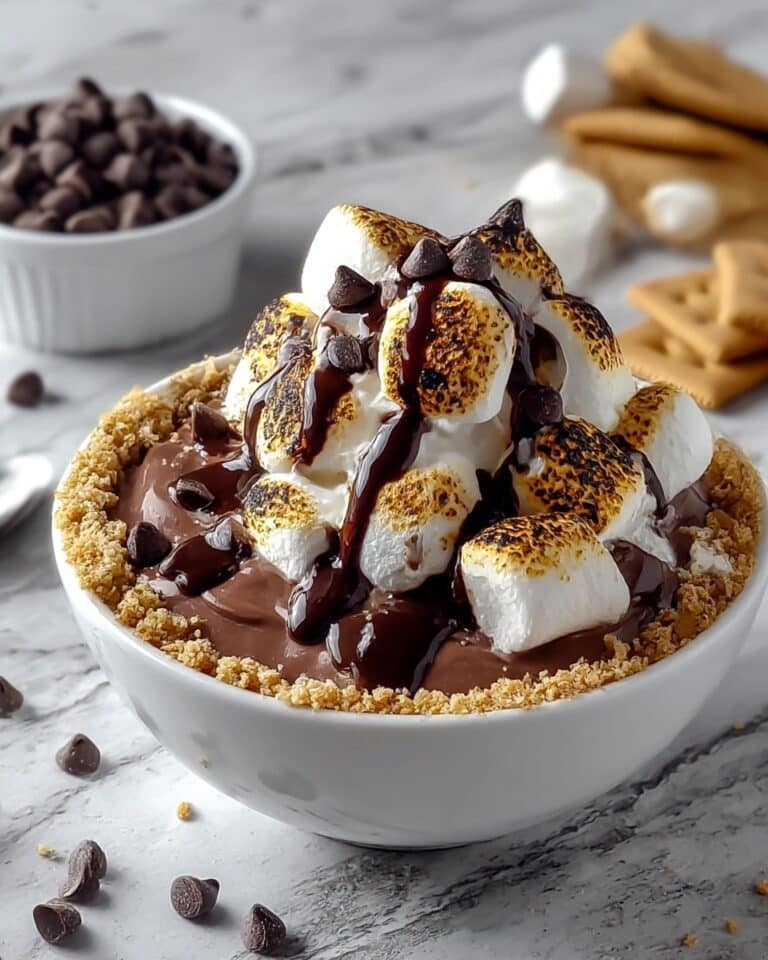
No-Bake Cream Cheese Peanut Butter Pie with Chocolate Whipped Cream is an irresistibly creamy and decadent dessert that’s simple to make and perfect for any occasion. With a smooth peanut butter filling and a light chocolate whipped cream topping, this pie offers a balanced sweetness that both peanut butter and chocolate lovers will enjoy.
Ingredients
- For the crust:
- 1 1/2 cups graham cracker crumbs
- 1/4 cup granulated sugar
- 6 tablespoons unsalted butter, melted
- For the peanut butter filling:
- 8 oz cream cheese, softened
- 1 cup creamy peanut butter
- 1 cup powdered sugar
- 1 teaspoon vanilla extract
- 1 cup heavy whipping cream
- For the chocolate whipped cream:
- 1 cup heavy whipping cream
- 2 tablespoons cocoa powder
- 1/4 cup powdered sugar
- 1 teaspoon vanilla extract
Instructions
- Step 1: In a mixing bowl, combine the graham cracker crumbs, granulated sugar, and melted butter. Stir until the crumbs are fully coated and the mixture resembles wet sand.
- Step 2: Press the mixture evenly into the bottom and up the sides of a 9-inch pie dish. Use the bottom of a measuring cup to press the crust firmly in place. Chill the crust in the refrigerator while you prepare the filling.
- Step 3: In a large mixing bowl, beat the softened cream cheese and peanut butter together until smooth and creamy.
- Step 4: Add the powdered sugar and vanilla extract to the cream cheese mixture and beat until well combined.
- Step 5: In a separate bowl, whip the heavy cream until stiff peaks form.
- Step 6: Gently fold the whipped cream into the peanut butter mixture until fully incorporated and smooth.
- Step 7: Spoon the peanut butter filling into the prepared crust and spread it out evenly. Smooth the top with a spatula. Cover with plastic wrap or aluminum foil and refrigerate for at least 3 hours, or until set.
- Step 8: To make the chocolate whipped cream, combine the heavy whipping cream, cocoa powder, powdered sugar, and vanilla extract in a mixing bowl. Whip with an electric or hand mixer until stiff peaks form.
- Step 9: Spread or pipe the chocolate whipped cream over the chilled peanut butter pie.
- Step 10: Slice and serve chilled. Enjoy the rich and creamy flavors!
Tips & Variations
- For a nut-free version, substitute peanut butter with sunflower seed butter.
- If you prefer less sweetness, reduce the powdered sugar in the filling slightly.
- Omit the chocolate whipped cream topping for a pure peanut butter flavor.
- Use crunchy peanut butter for added texture in the filling.
- Chill the pie overnight for best results and firmer texture.
Storage
Store the pie covered in the refrigerator for up to 3 days. Keep it well wrapped with plastic wrap or in an airtight container to maintain freshness. Reheat is not recommended; serve chilled for the best texture and flavor.
How to Serve
Serve this delicious recipe with your favorite sides.
FAQs
Can I make this pie ahead of time?
Yes, this pie can be made a day in advance and kept refrigerated. In fact, chilling overnight helps the flavors meld and the filling to set perfectly.
Can I freeze the pie?
While it’s possible to freeze this pie, the texture of the whipped cream toppings may change upon thawing. If freezing, cover tightly and thaw in the refrigerator before serving. For best quality, consume within one month.
Print
No-Bake Cream Cheese Peanut Butter Pie with Chocolate Whipped Cream Recipe
- Total Time: 3 hours 20 minutes
- Yield: 8 servings 1x
Description
This No-Bake Cream Cheese Peanut Butter Pie with Chocolate Whipped Cream is a luscious, creamy dessert combining a rich peanut butter filling with a light, fluffy chocolate whipped cream topping on a buttery graham cracker crust. Perfect for any occasion, it delivers indulgent flavor without being overly sweet and requires no baking, making it quick and easy to prepare.
Ingredients
For the Crust:
- 1 1/2 cups graham cracker crumbs
- 1/4 cup granulated sugar
- 6 tablespoons unsalted butter, melted
For the Peanut Butter Filling:
- 8 oz cream cheese, softened
- 1 cup creamy peanut butter
- 1 cup powdered sugar
- 1 teaspoon vanilla extract
- 1 cup heavy whipping cream
For the Chocolate Whipped Cream:
- 1 cup heavy whipping cream
- 2 tablespoons cocoa powder
- 1/4 cup powdered sugar
- 1 teaspoon vanilla extract
Instructions
- Prepare the Crust: In a mixing bowl, combine graham cracker crumbs, granulated sugar, and melted butter. Stir until the crumbs are fully coated and the mixture resembles wet sand. Press the mixture evenly into the bottom and up the sides of a 9-inch pie dish using the bottom of a measuring cup to pack the crust firmly. Refrigerate the crust while preparing the filling.
- Make the Peanut Butter Filling: In a large bowl, beat the softened cream cheese and creamy peanut butter together until smooth and creamy. Add the powdered sugar and vanilla extract, and beat again until well combined. In a separate bowl, whip the heavy cream until stiff peaks form, then gently fold it into the peanut butter mixture until completely smooth and incorporated.
- Assemble the Pie: Spoon the peanut butter filling into the chilled crust and spread evenly with a spatula. Cover the pie with plastic wrap or aluminum foil and refrigerate for at least 3 hours to allow it to set properly.
- Make the Chocolate Whipped Cream: In a clean bowl, combine heavy whipping cream, cocoa powder, powdered sugar, and vanilla extract. Whip using an electric or hand mixer until stiff peaks form, creating a light and fluffy chocolate whipped cream.
- Add the Chocolate Whipped Cream: Spread or pipe the chocolate whipped cream evenly over the chilled peanut butter pie.
- Serve: Slice the pie and serve chilled. Enjoy the perfect combination of creamy peanut butter and rich chocolate flavors in this indulgent no-bake dessert.
Notes
- Ensure the cream cheese is softened to avoid lumps in the filling.
- You can omit the chocolate whipped cream if you prefer a pure peanut butter flavor.
- Use a spatula to gently fold whipped cream into the filling to keep it light and airy.
- Refrigerate the pie for at least 3 hours or overnight for best texture.
- Store leftovers covered in the refrigerator for up to 3 days.
- Prep Time: 20 minutes
- Cook Time: 0 minutes
- Category: Dessert
- Method: No-Cook
- Cuisine: American
Keywords: No-Bake, Peanut Butter Pie, Cream Cheese Pie, Chocolate Whipped Cream, Easy Dessert, No-Bake Pie, Creamy Dessert


