
Protein Twix Bars Recipe
Introduction
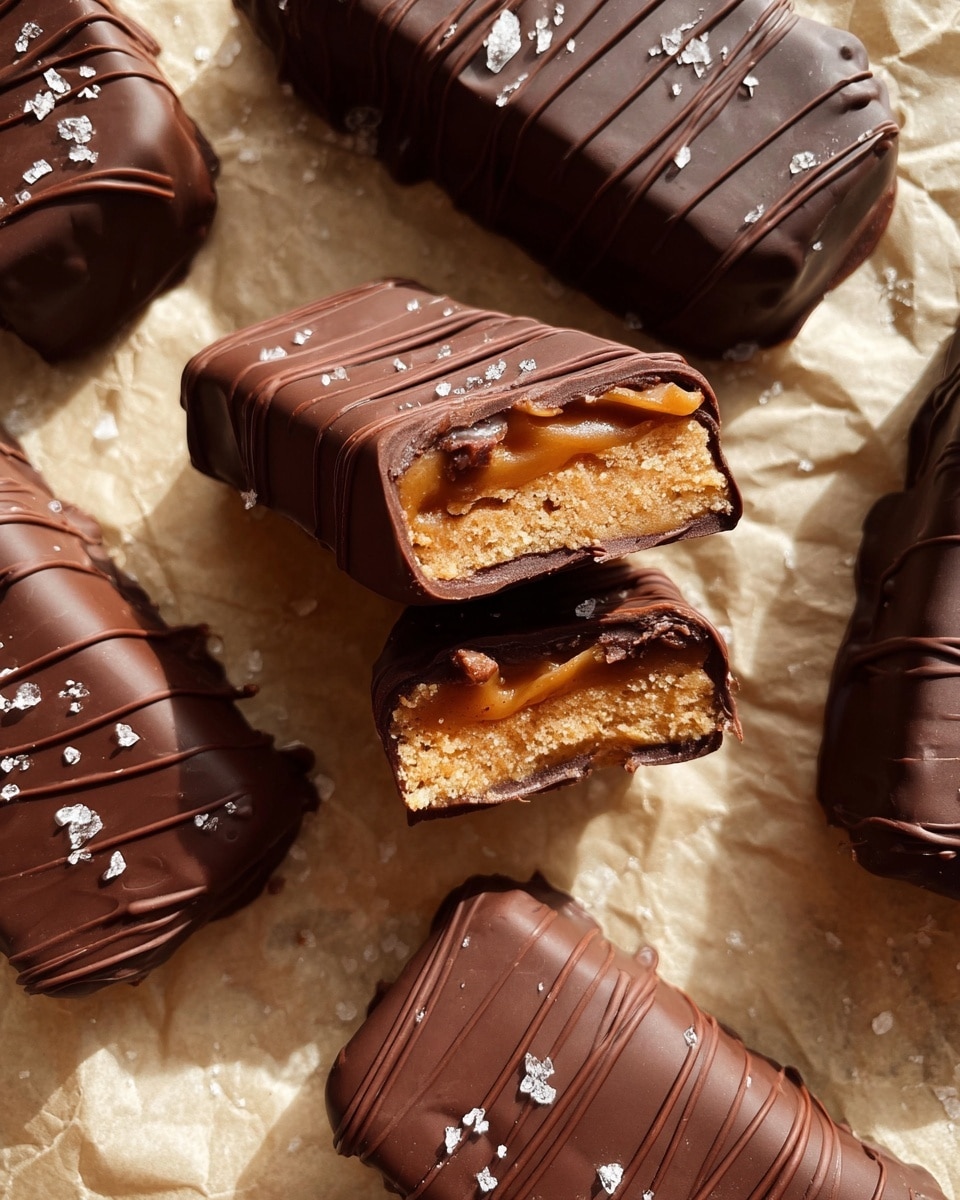
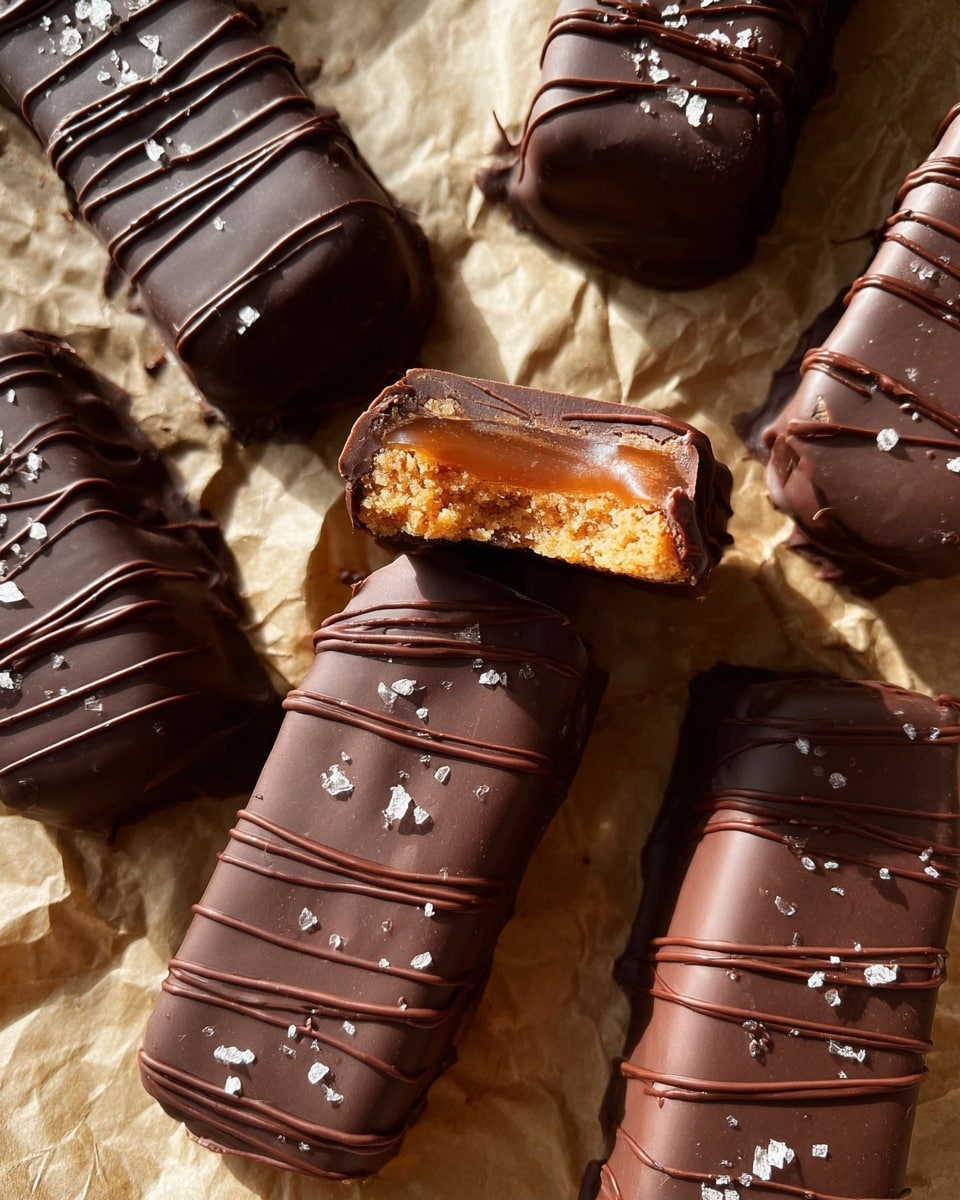
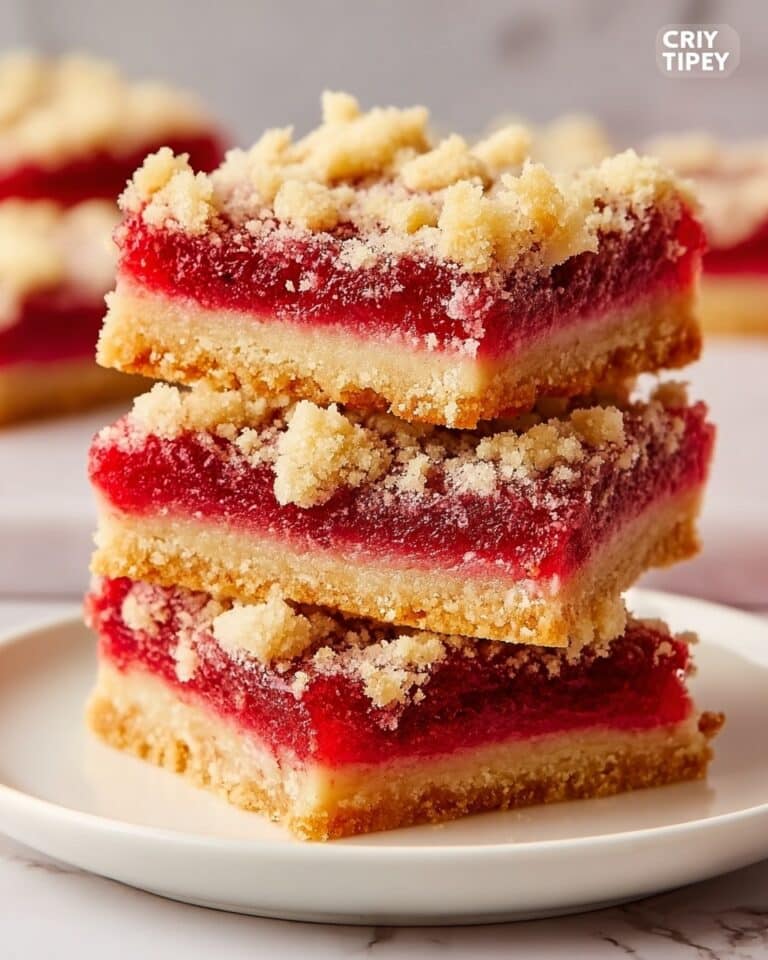
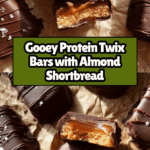
These Protein Twix Bars are a delicious, homemade twist on the classic treat, packed with wholesome ingredients and plenty of protein. With a rich shortbread base, creamy caramel layer, and smooth dark chocolate coating, they make a perfect snack or dessert for any time of day.
Ingredients
- Shortbread:
- 2 cups almond flour
- 1/2 cup vanilla protein powder (or oat flour)
- 1/4 cup pure maple syrup
- 1/4 cup coconut oil, melted
- Caramel:
- 2/3 cup creamy peanut butter (or cashew butter)
- 1/3 cup pure maple syrup
- 2 tbsp coconut oil, melted
- 2 whole scoops collagen (optional)
- 1 tsp pure vanilla extract
- Coating:
- 2 cups dark chocolate
- 2 tsp coconut oil
Instructions
- Step 1: Combine all shortbread ingredients in a bowl and mix until well incorporated. Press the mixture firmly into an 8×8-inch dish lined with parchment paper. Place the dish in the freezer while preparing the caramel.
- Step 2: In another bowl, mix the creamy nut butter, maple syrup, vanilla extract, melted coconut oil, and collagen (if using) until smooth and creamy.
- Step 3: Pour the caramel mixture evenly over the frozen shortbread layer. Return the dish to the freezer for at least 1 hour to set.
- Step 4: Melt the dark chocolate with coconut oil in a double boiler or microwave, stirring until smooth and glossy.
- Step 5: Remove the set layers from the dish and slice into 10 bars or 20 squares.
- Step 6: Dip each bar into the melted chocolate, allowing excess to drip off, then place on parchment paper. Optionally, sprinkle with flaky sea salt.
- Step 7: Refrigerate the dipped bars for about 10 minutes or until the chocolate hardens.
- Step 8: Let the bars come to room temperature for 10 minutes before enjoying to get that perfect gooey caramel pull.
Tips & Variations
- Substitute vanilla protein powder with oat flour if you prefer a dairy-free option.
- If you don’t want to use collagen, you can omit it—the caramel will still set but be slightly less gooey.
- You can drizzle chocolate over the bars instead of fully dipping them to use less chocolate.
- Sprinkle flaky sea salt on top for a nice contrast to the sweetness.
Storage
Store the bars in an airtight container in the refrigerator for up to 1 week. Before serving, let them sit at room temperature for about 10 minutes to soften the caramel for the best texture. Extra melted chocolate can be refrigerated and reused for another recipe.
How to Serve
Serve this delicious recipe with your favorite sides.
FAQs
Can I use a different nut butter for the caramel?
Yes, creamy cashew butter or almond butter work well as alternatives and will give the caramel a slightly different but delicious flavor.
Do I have to use collagen in the caramel?
No, collagen is optional. It helps with the gooey, pull-apart texture, but the bars will still taste great and hold together without it.
Print
Protein Twix Bars Recipe
- Total Time: 1 hour 25 minutes
- Yield: 10 bars or 20 squares 1x
- Diet: Gluten Free
Description
Delicious homemade Protein Twix Bars featuring a gluten-free almond flour shortbread base, a creamy peanut butter caramel layer with collagen for extra gooeyness, and a rich dark chocolate coating. This no-bake treat is perfect for a healthy snack or dessert, combining protein-packed ingredients with indulgent flavors.
Ingredients
Shortbread
- 2 cups Almond Flour
- 1/2 cup Vanilla Protein Powder or oat flour
- 1/4 cup Pure Maple Syrup
- 1/4 cup Coconut Oil, melted
Caramel
- 2/3 cup Creamy Peanut Butter or cashew butter
- 1/3 cup Pure Maple Syrup
- 2 Tbsp Coconut Oil, melted
- 2 whole scoops Collagen
- 1 tsp Pure Vanilla Extract
Coating
- 2 cups Dark Chocolate (70% cacao recommended)
- 2 tsp Coconut Oil
Instructions
- Prepare Shortbread Base: Combine almond flour, vanilla protein powder (or oat flour), pure maple syrup, and melted coconut oil in a mixing bowl. Stir until well combined into a cohesive dough. Press this mixture firmly into an 8×8 inch dish lined with parchment paper. Place the dish in the freezer to set while you prepare the caramel layer.
- Make the Caramel Layer: In a separate bowl, mix creamy peanut butter (or cashew butter), pure maple syrup, melted coconut oil, collagen scoops, and vanilla extract until smooth and creamy. Pour this caramel mixture evenly over the chilled shortbread base. Return the dish to the freezer and freeze for at least 1 hour to firm up the caramel layer.
- Melt Chocolate Coating: Melt the dark chocolate and coconut oil together gently, either using a double boiler or microwave in short bursts, stirring frequently. You want enough to fully coat the bars when dunking, so having some extra is normal.
- Slice Bars: Remove the frozen layered slab from the freezer. Slice into 10 bars or 20 smaller squares, depending on your preferred size.
- Coat Bars in Chocolate: Dip each bar into the melted chocolate, allowing excess to drip off. Place the coated bars onto parchment paper. Optionally, sprinkle with flaky sea salt for added flavor.
- Set the Chocolate: Place the chocolate-coated bars in the refrigerator for about 10 minutes to allow the chocolate to harden.
- Serve and Store: Enjoy your Protein Twix Bars once the chocolate is set. For optimal texture, let the bars come to room temperature (~10 minutes) before eating to ensure the caramel is ooey and pull-worthy. Store any leftovers in the refrigerator.
Notes
- You can save unused melted chocolate in the fridge for your next recipe; you’ll likely have extra.
- Instead of fully coating bars by dunking, you can drizzle melted chocolate over the top as an alternative.
- Vanilla protein powder can be replaced with oat flour if preferred.
- Collagen in the caramel can be omitted if desired; it enhances gooeyness but is not essential.
- For the best caramel pull, let bars warm to room temperature for at least 10 minutes before serving instead of eating straight from the fridge.
- Prep Time: 15 minutes
- Cook Time: 0 minutes
- Category: Desserts
- Method: No-Cook
- Cuisine: American
Keywords: Protein Twix Bars, gluten free dessert, no bake bars, almond flour shortbread, peanut butter caramel, collagen dessert, healthy chocolate bars, protein snack